Most pony blush is matte, not shiny. Once you've mixed your paint to a color that matches the original blush, dab a small bit on a Q-tip. Paint it on with the Q-tip, making sure to fade the edges. You can wet the Q-tip with nail polish remover or water if you need to thin the paint.
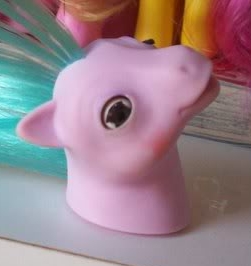
Beddy-Bye-Eyes
Clean rusty beddy-bye-eyes with a rust remover, RIT Rust Remover seems to be the most popular. Try to work quickly and rinse thoroughly so it doesn't harm the plastic. Use Q-tips and toothpicks to get into the corners and soak the head as needed..
Includes:
- Blush - Eyes (beddy-bye-eyes, re-painting/touch ups, twinkle eyes) -
- Pearlized Bodies - Symbols (3D, glitter, re-painting/touch ups) -
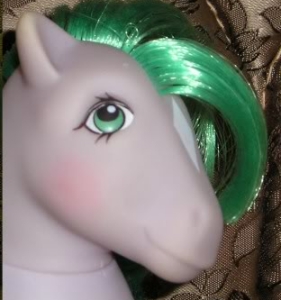
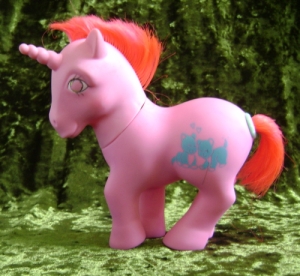
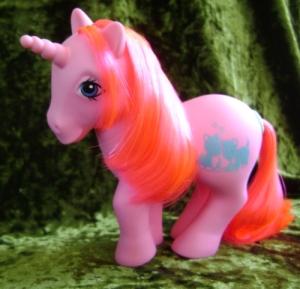
Blush
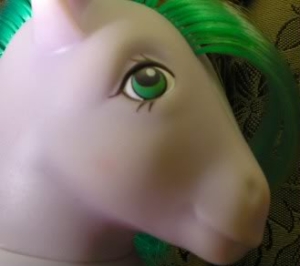
Eyes
Re-Painting & Touch Ups
With any paint job involving a pony, how well your project turns out depends on two things: Your eye for mixing colors & your skill at painting. The more you practice, the better you will get at this. You're also not trying to paint a Van Gogh here, you're just touching up a surface that has already been started for you, which makes it way easier! Once you've mixed your color to match the pony's eye, touching up scratches and scuffs is relatively easy. If your pony's eyes are so bad that you have to remove them completely, it's a good idea to mix your paint BEFORE you remove the eyes so that you have something to compare for a color match. If the eyes are so far gone that you can't tell their original color or what they looked like, try asking for close up photos at the MLP Trading Post or the MLP Arena. Other collectors are usually more than happy to help out! You can seal and replace the shiny top coat on the eye and seal your paint job using a gloss glaze or Mod Podge.
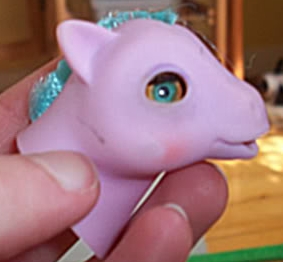
Twinkle Eyes
You can replace the top coat of a twinkle eye with a thin coat of pearlizing medium. Lots of collectors think twinkle eyed ponies look like zombies when this top coat has worn off.
Pearlized Bodies
You can use a pearlizing medium to touch up and replace the pearly coat on the mail order pearlized babies. You will likely need to apply more than one layer to get the "shade" of pearliness just right.
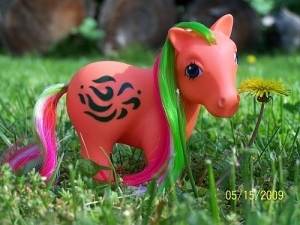
Symbols
3D
The toughest thing with 3D symbols is that often they are not there. They have a tendance to fall or break off and are often missing, especially with the precious pocket ponies. If you can find someone to lend you a pony that still has the symbol you need to copy, you can potentially make a replacement using a casting kit. The other option, is to simply sculpt the missing accessory using something like Sculpy or Apoxie Sculpt. The same acrylic craft paints used for touching up symbols can be used to paint them, cover them with a glaze to reach your desired shininess. Use metallic craft paint for touching up princess pony symbols.
Glitter
The toughest thing in choosing a brand of glitter is finding one that is both the same texture AND color of the pony's original symbol. If you look closely, most glitter symbols are a mix of both silver and colored glitter. Look for glitters that describe their texture as "micro" or "ultra fine". Often, you'll have to settle for colors that are simply close to the original. After you've chosen your brand and color of glitter, paint the symbol with glue. Be sure to use a glue that won't run so that it holds the shape of the symbol, and that will dry completely clear. Sprinkle on your glitter and gently smoosh it down if needed to flatten it.
Some collectors prefer to mix the glitter and glue together and then paint the mixture onto the symbol.
Some collectors also draw the symbols on with a silver glitter pen before gluing on the colored glitter, versus mixing silver and colored glitter together.
Aleen's Tacky Glue seems to be collectors' #1 choice for the glue to use on glitter symbols.
Here's another cute little video tutorial from Yum-Yum at the MLP Arena: My Little Pony Glitter Tutorial.
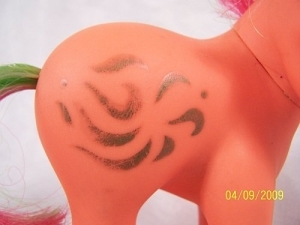
Re-Painting & Touch Ups
With any paint job involving a pony, how well your project turns out depends on two things: Your eye for mixing colors & your skill at painting. The more you practice, the better you will get at this. You're also not trying to paint a Van Gogh here, you're just touching up a surface that has already been started for you, which makes it way easier! Once you've mixed your color to match the pony's symbols, touching up scratches and scuffs is relatively easy. If the symbols are so bad that you have to remove them completely, it's a good idea to mix your paint BEFORE you remove them so that you have something to compare for a color match. You can seal your paint job using a gloss glaze or Mod Podge.
If your pony's symbols are so far gone that you can't tell their original color or what they looked like, try asking for close up photos at the MLP Trading Post or the MLP Arena. Other collectors are usually more than happy to help out!
Home
Goals
MLP Restoration
- Body
- Hair
- Symbols, Eyes, Blush
FarDreamer


Photos courtesy Kanthaka.
Photos courtesy SourDoughStomper.
Photos courtesy Miss_Tuneful.
Photos courtesy Skig.